
Around April 2015 I’d got my hands on my first Raspberry Pi 2. The internet was abuzz with the potential of what the Pi could do, but mostly it was the same few things: media center, retro game emulator, or magic mirror. You’ve read the title, you know where I’m going with this.
This isn’t a guide. This is more a recounting of how this project went. To start, I needed a parts list:
- Raspberry Pi 2 + SD card for OS (£62 from Amazon)
- 1280×800 screen + driver board (£62 from Amazon)
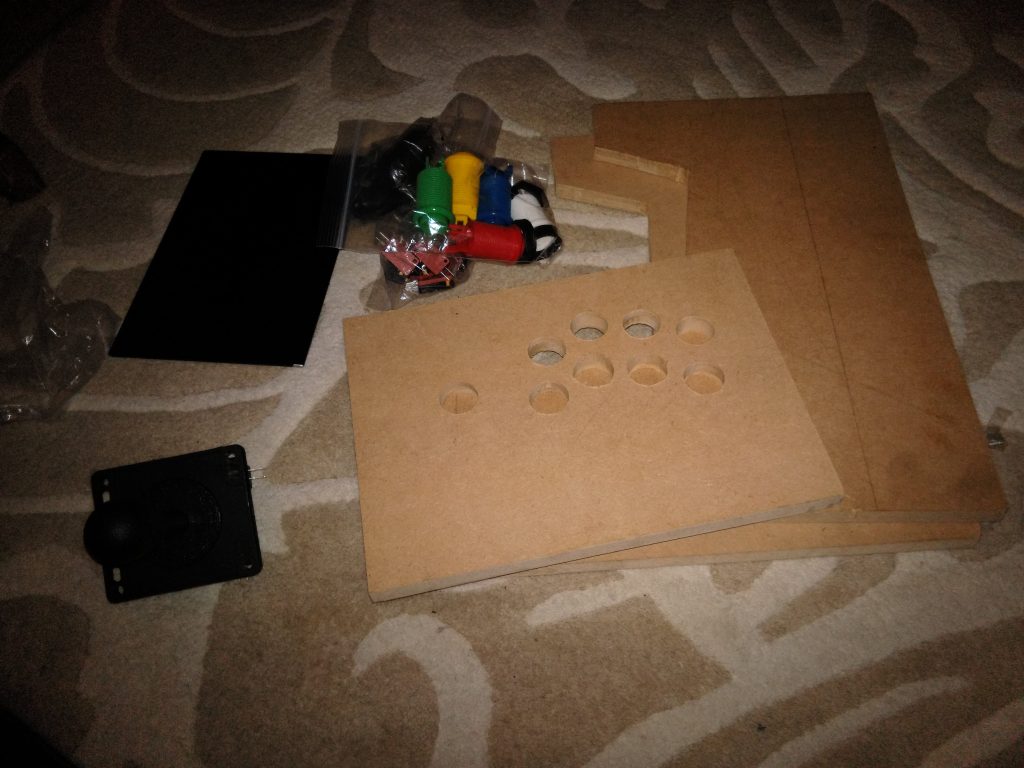
- Arcade buttons, arcade stick, I-PAC (Interface for PC to Arcade Controls) board (£54 from Arcade World UK)
- Assorted wires to connect everything (£14 from Ultracabs Arcade)
- MDF wood, to make the cabinet
- Speakers (£12 from Amazon)
Overall, a pretty simple project. I used Recalbox OS, which was extremely plug-and-play compared to Retropie at the time. I downloaded the OS zip file on the SD card, plugged it into the Pi, and it installed itself and set up the folder structure for me. Then it was a matter of putting the SD card back into the computer to add roms. Legally ripped roms, of course. I would never do anything illegal.

Arcade controller wiring is easy – each switch has a positive wire going to the mapped I-PAC port, and a negative that is daisy-chained through each switch and terminates at the negative terminal on the I-PAC.


At this point I’m basically done with the electronics side of things – I had a working setup of Street Fighter Alpha 3 playing through a working controller. I’d done it, it all that was left was cutting out the rest of the cabinet pieces and putting it together.


That never happened; I can’t remember why. I was doing most of the project at my brother’s house, so maybe it had something to do with mdf dust around his kids. Maybe life got in the way. Maybe the crushing reality of existence set in and my friends had all moved back to their hometowns and I thought I’d be an accountant forever.
Never mind, I looked through my photos and it was probably because I’d got a girlfriend.


